


Gifting has never been easier
Perfect if you're short on time or are unable to deliver your gift yourself. Enter your message and select when to send it.

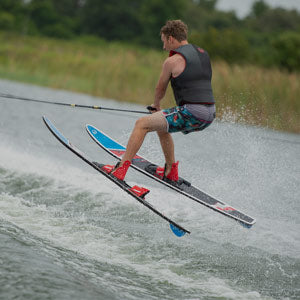
If you’re new to waterskiing or just upgrading your gear, you might find yourself wondering how to swap out your waterski or wakeboard handle. Whether you’ve bought a new handle or rope, the process of disconnecting and reconnecting them is easier than it looks—and we’re here to walk you through it.
At Waterskiers World, we get asked this all the time, so here’s a simple step-by-step guide to help you do it right the first time.
There are a few common reasons for changing out a handle:
You've bought a new handle with a different grip or length
Your existing handle is worn out or frayed
You're swapping out ropes for different skiers or disciplines (e.g. slalom vs. combo skiing)
You're trying to untwist your line or remove tangles
Regardless of the reason, following the right technique ensures your gear stays secure and performs at its best.
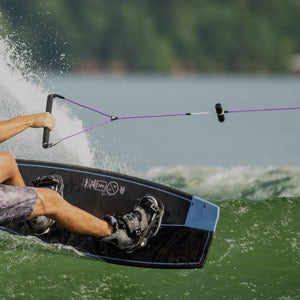
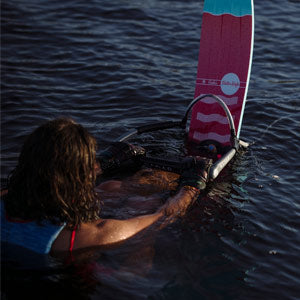
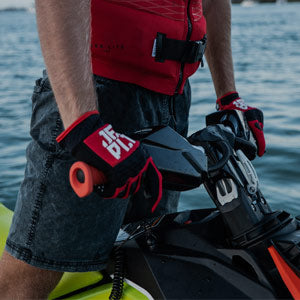
Most waterski ropes are looped through the handle in a simple hitch-style knot. Start by laying the rope out on a flat surface and finding where the rope connects to the handle. You should see a loop threaded through the bar and tied back into itself.
Gently pull on the loose end of the rope. If it's been in use for a while, the rope might be tight and difficult to untie. In that case, don’t force it—you could damage the rope fibres.
If the rope is stiff or sun-dried, place the knot in a bucket of hot (not boiling) water for a few minutes. This helps soften the rope fibres and makes it much easier to loosen. You’ll be able to slide it apart without fraying or breaking the strands.
Once loosened, unthread the loop from the handle. Keep an eye on how it was connected—this will help you when you go to reattach it.
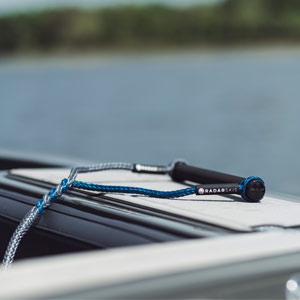
To reattach the handle, thread the rope loop through the eyelet of the new handle. Then pass the rest of the rope through that loop and pull it tight to create a secure connection. Make sure the handle is centered and the rope is even on both sides.
Before you hit the water, give the handle a strong tug to make sure everything is tight and properly seated. This helps prevent any mid-ride surprises!
It’s always handy to keep a second rope and handle in your boat. That way, if anything breaks mid-session, you can swap it out quickly and keep the fun going without delay.
We stock a huge range of waterski handles and ropes in-store and online at Waterskiers World. Whether you’re looking for a basic replacement or a high-performance pro handle, we’ve got you covered.
📍 Visit our store in Brisbane - 1106 Ipswich Road, Moorooka
📞 Got questions? Call us anytime for expert advice.
Follow us on YouTube for more helpful how-tos, gear guides, and product reviews.
Don't forget to subscribe and stay up to date with the latest tips and tricks from the team at Waterskiers World!
#WaterskiTips #HandleSwap #WaterskiGear #SkiRope #HowToWaterski #WaterskiersWorld
Sign up to our mailing list so you don't miss out on exclusive deals, latest product drops and more.
Get the chance to Win Back your order!
