


Gifting has never been easier
Perfect if you're short on time or are unable to deliver your gift yourself. Enter your message and select when to send it.

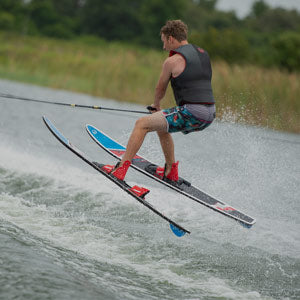
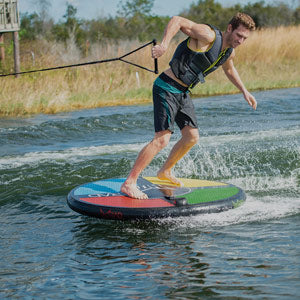
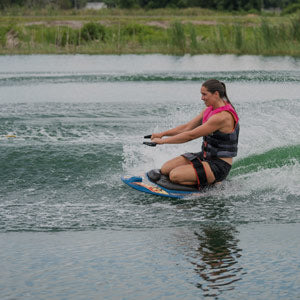
Summer is here, and it’s the perfect time to get out on the water! If you’ve purchased a Slalom Ski from Water Skiers World, it will come ready to ride with boots, fin, and bindings already installed. But if you’ve bought a blank ski or are replacing your old bindings, this guide will walk you through how to set up your Slalom Ski properly so you’re ready to hit the water safely and efficiently.
Before we start, let’s go over the main components of your Slalom Ski setup:
Front boot – where your front foot goes.
Rear toe plate/rear binding – supports your back foot.
Fin – essential for stability and control.
Most modern skis come with pre-drilled inserts for easy mounting with machine screws. Some older models may require self-tapping screws. Make sure you check your ski type before proceeding.
To position your front boot correctly:
Align the inserts on the ski with the holes on the front boot.
Measure from the tail of the ski to the heel of your front boot. This measurement varies depending on the ski model and length. You can find the recommended measurements on the manufacturer’s website or on Water Skiers World Resource Center.
Once positioned, you’re ready to attach the binding.
Use the bolts that come with your binding — don’t substitute them, as different bolts have varying heads and washers.
Start all six bolts loosely to ensure proper alignment.
Once everything lines up, tighten the bolts, taking care not to cross-thread them.
Your front boot is now secure.
The rear toe plate or rear binding is installed in a similar way:
Align the holes on the binding with the ski inserts.
Position it as close to the front boot as recommended by the manufacturer.
Start all bolts loosely, then tighten securely.
There are two main types of fins:
Fixed fin – minimal to no adjustment, simple installation.
Competition fin – adjustable for depth, length, and distance from the tail.
Align the holes on the fin with the ski inserts.
Attach using the bolts or self-tapping screws included with the fin.
Ensure all bolts are tight before and after skiing — the fin is crucial for stability.
Slot the fin into the ski inserts.
Secure with machine screws.
Lock the three front screws tightly. Leave the other adjustment screws for fine-tuning, which we’ll cover in another guide.
Some skis come with a foil or wing system for improved hydrodynamics:
Attach one wing on each side of the fin with the included bolts.
Don’t tighten fully yet — allow slight movement for adjustment.
Use wing gauges (like Ski Doc wing gauges) to set the correct angle as per the manufacturer, typically around 7°-9.
Tighten all bolts securely once the angle is set.
Before hitting the water:
Front boot – secured in the correct position.
Rear binding – aligned and tightened.
Fin – secure and properly installed.
Wing/foil – set at the correct angle.
Your Slalom Ski is now fully set up and ready to ride!
If you run into any problems during setup, don’t hesitate to:
Contact us online at Water Skiers World
Visit one of our stores — our team can help you get your ski ready for the water.
With everything installed correctly, you’re ready to enjoy smooth, safe, and fast rides all summer long.
Sign up to our mailing list so you don't miss out on exclusive deals, latest product drops and more.
Get the chance to Win Back your order!
